How to pair your eFoil remote: A step-by-step guide for eFoilers
The remote, or controller, of an eFoil is essential for adjusting speed, tracking battery life, and controlling other functions while riding. Pairing your remote with the board may be necessary when setting up for the first time or reconnecting after battery replacements or updates. Here’s a general guide to help you pair an eFoil remote, ensuring your board is ready to hit the water.
Step 1: Charge up
Check battery levels: Make sure both the eFoil battery and the remote are sufficiently charged before beginning the pairing process. Low battery levels in either device can prevent pairing from completing. Flite App for Android and iOS allows you to connect to Fliteboard Flitecells to see the exact state of charge for the battery.
Step 2: Prepare your eFoil
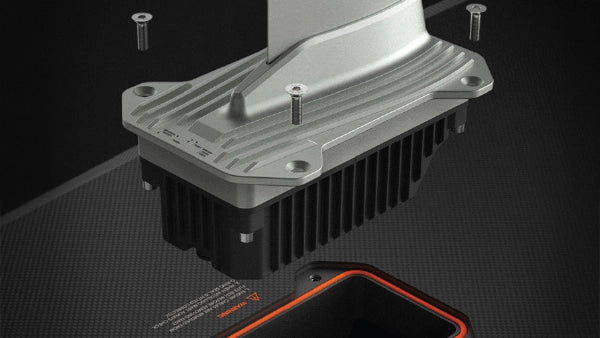
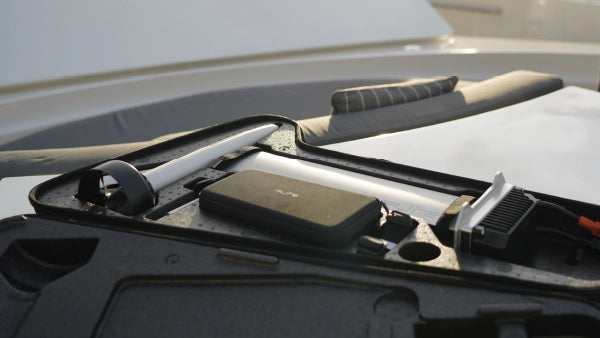
Ensure battery connection: Start by connecting your eFoil’s battery to the board’s power box. Secure all cables properly, and close the compartment lid securely.
Power up the board: Many eFoils emit an audible beep or LED signal to indicate they’re powered on and ready to pair.
Step 3: Activate pairing mode
Set the remote to pairing mode: Most remotes will have a menu where you can select and initiate pairing mode. Watch for a pairing prompt or message, such as “Ready to Pair” or “Looking for Connection”. To activate pairing mode on a Fliteboard controller, hold the plus button for 7 seconds until the words “PRESS MODE TO COMMENCE PAIRING” appear. Then press Mode button to confirm. The words ‘LOOKING FOR NEW PAIR” will appear.
Step 4: Position the remote for pairing
Identify the pairing target: Some eFoils have a pairing target designed to activate pairing mode when the remote is placed upon it. The pairing target for Fliteboard is located inside the board between the two power cables. This is activated by placing the base of the remote on the target.
Step 5: Complete pairing
Wait for confirmation: A successful pairing is generally indicated by an audible or visible signal. In the case of Fliteboard, the LED’s on the board will change to a light blue color.

Troubleshooting common pairing issues
Check battery status: If pairing fails, confirm that both the remote and battery are charged and properly connected. Low battery levels or a loose connection may affect pairing ability.
Reattempt the pairing process: If the connection doesn’t complete, disconnect the battery, wait a few seconds, then reconnect and restart the pairing procedure from Step 1.
Look for signal indicators: Check the remote for any specific error messages that may identify a specific problem.
Interference from nearby electronics: Wireless signals from nearby devices (e.g., smartphones, other remotes, or Wi-Fi equipment) can interfere with the pairing process. Turn off or move away from other electronic devices when pairing the eFoil remote, especially those that operate on similar frequencies.
Software version mismatch: If the remote and board firmware are not compatible, pairing might fail. Check for and install any firmware updates for both the board and the remote to ensure they’re using compatible versions.

Conclusion
Pairing eFoil remotes is a relatively quick and straight forward process. If you’re still experiencing issues, refer to your specific eFoil’s user guide, as each system may have slight variations in the pairing process. Fliteboard User Guides are available here.


